When you’re deciding on floor heating for your new home, there are three common methods that you can choose from – and each method is best suited for different applications:
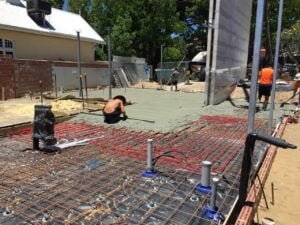
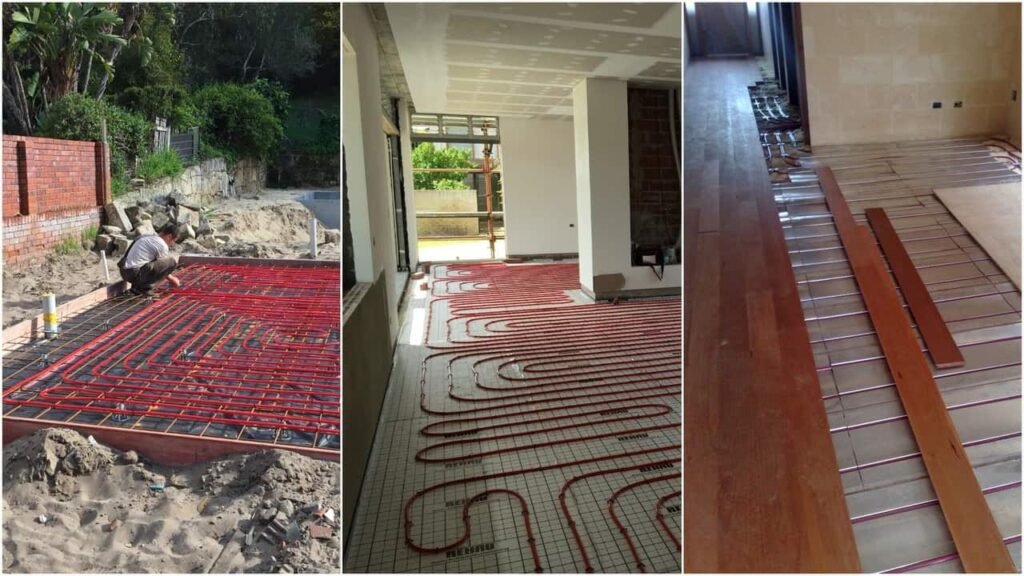
a. In-slab heating
This the most common method in Australia – and is usually the most cost effective – but is also the easiest to get wrong, resulting in your system heating poorly and being super expensive to run.
The reason why it’s the most cost-effective method is that there is the least amount of material required. That’s because the floor heating pipes are simply tied to the reinforcing steel of your concrete slab, and the thickness of the slab is increased by 25mm, but otherwise your slab is poured as usual.
A common mistake is that people install floor heating into suspended slabs (first floors in houses). The danger with this method is there can be devastating energy consumption (because suspended slabs are very thick and require a lot of energy to heat up initially, and leak heat like crazy through all the built-in thermal bridges).
So we recommend that only on-ground slabs have floor heating incorporated.
But even with on-ground slabs, there can be large amounts of energy leakage (which can be greatly reduced by avoiding thermal bridges and including thermal insulation).
In Australia, when heating an on-ground slab, the National Construction Code also requires that your slab edges be insulated to a minimum of R1.0. In Perth and the south-west, there is no requirement for under-slab thermal insulation – but we highly recommend it.
Best floor finishes when combined with floor heating: any (tiles, stone, carpet, timber, vinyl plans) as long as thermal insulation is included below the slab.
b. In-screed heating
In-screed heating is the standard method in Europe. This is because it greatly reduces energy losses from your floors to parts of the building you don’t want to heat, and most importantly reduces energy from escaping your rooms to the cold outside environment.
How it works is simple:
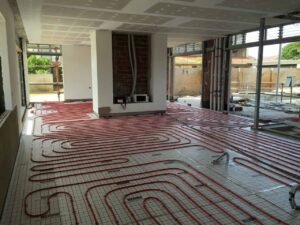
1. Rigid thermal insulation boards are placed on top of your floor structure (concrete slab or timber floor).
2. Floor heating piping is then fixed to the top of this thermal insulation.
3. The piping and thermal insulation is covered with a topping screed (such as concrete, sand/cement or liquid screed).
4. Your floor finish of choice is installed over the top.
Why it works so well is that the heated floor is thermally broken (and insulated) from the surrounding structure – meaning heat doesn’t flow to the cold slab or ground below, or through the balcony to the outside slab… It is directed up into your room.
And for these reasons it is our recommended method of installation (over in-slab).
Best floor finishes when combined with floor heating: hard floor finishes are the big winners here, but any floor finish can successfully be installed over.
c. Timber-batten heating
This method is best for heating in rooms with timber floorboards (such as 19mm Jarrah).
It’s similar to the insulated screed system in that it is thermally broken and insulated from the structure below. However, it allows for discreet installation of the timber floors without blindly fixing nails near pipes, and holds the boards in position well (resisting the sometimes strong movement of the boards).
This is our preferred method when installation floor heating with high quality timber floor finishes.
Best floor finishes when combined with floor heating: timber boards.


